Integration Note: When your instance is integrated through Canvas or other SDK, users are automatically signed in and registered.
User List Management
Viewing All Users
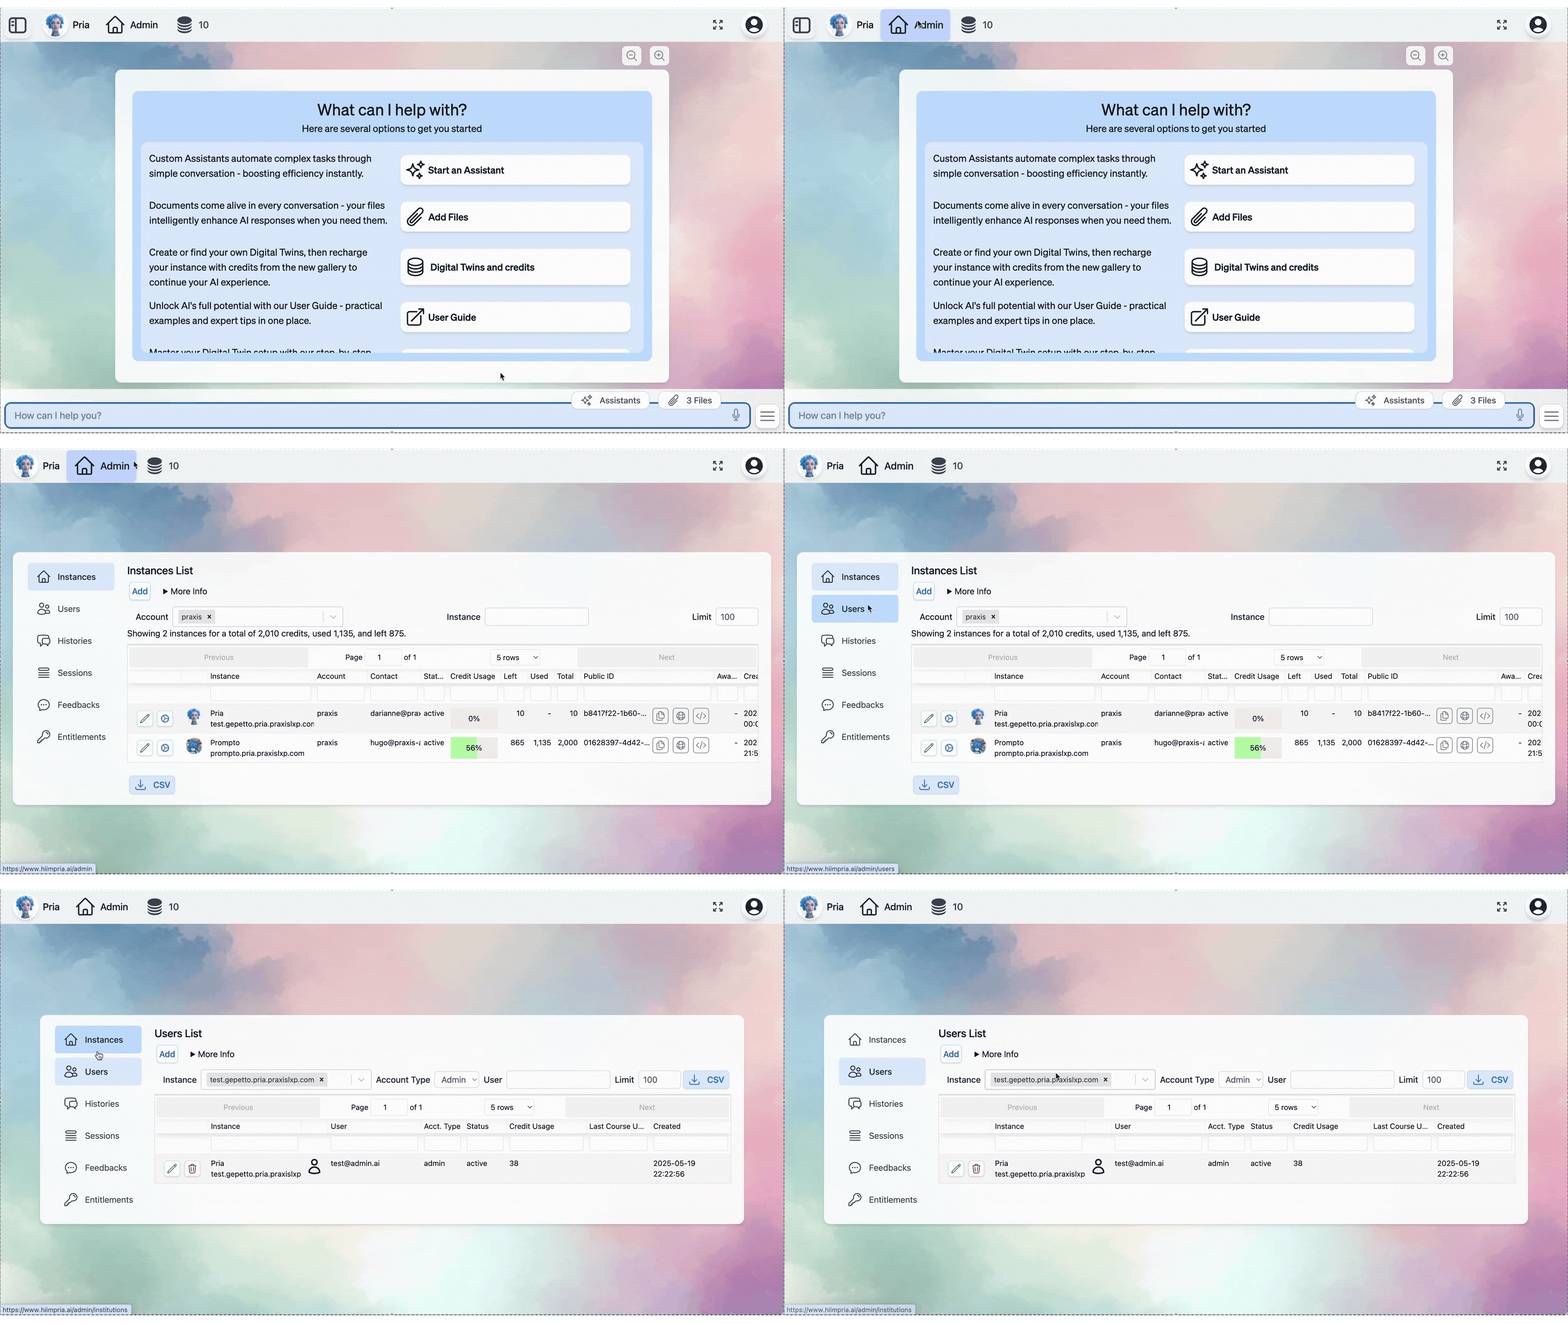
The user list displays all registered users in your instance with comprehensive filtering and search capabilities:- Search by Name or Email: Use the search bar to quickly locate specific users
- Filter by Account Type: Narrow results by Admin or User account
- Sort Options: Organize by registration date, last activity, or alphabetical order
- Pagination: Navigate through large user lists efficiently
User Details View
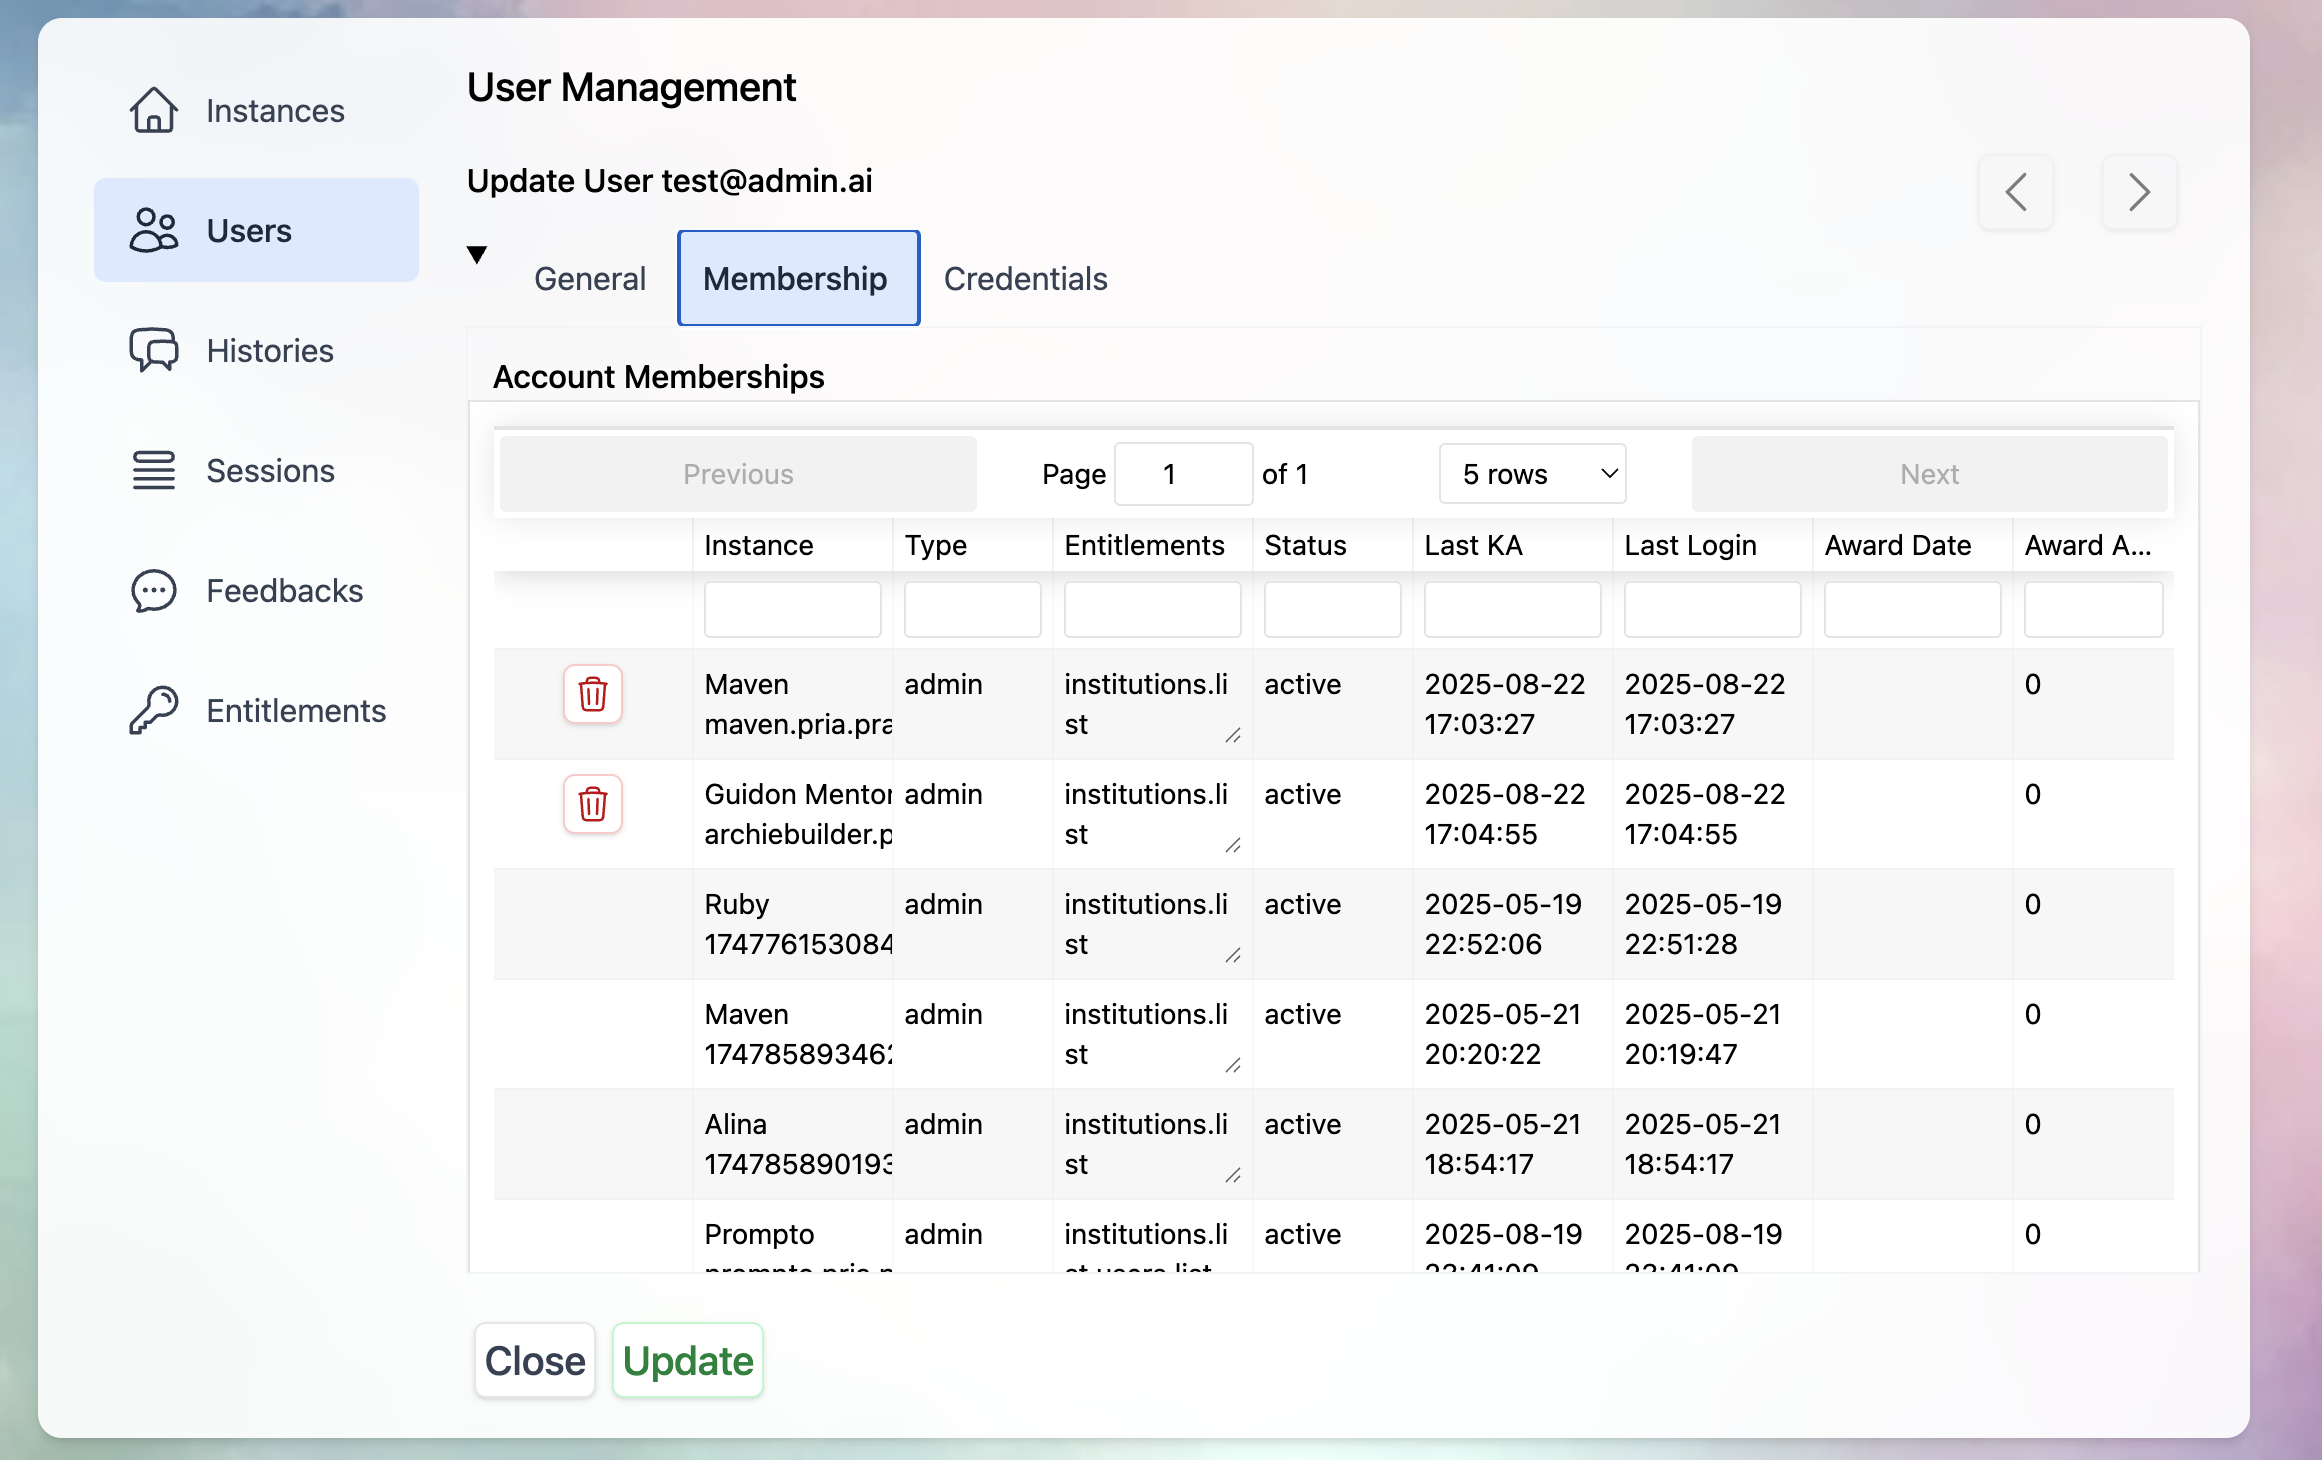
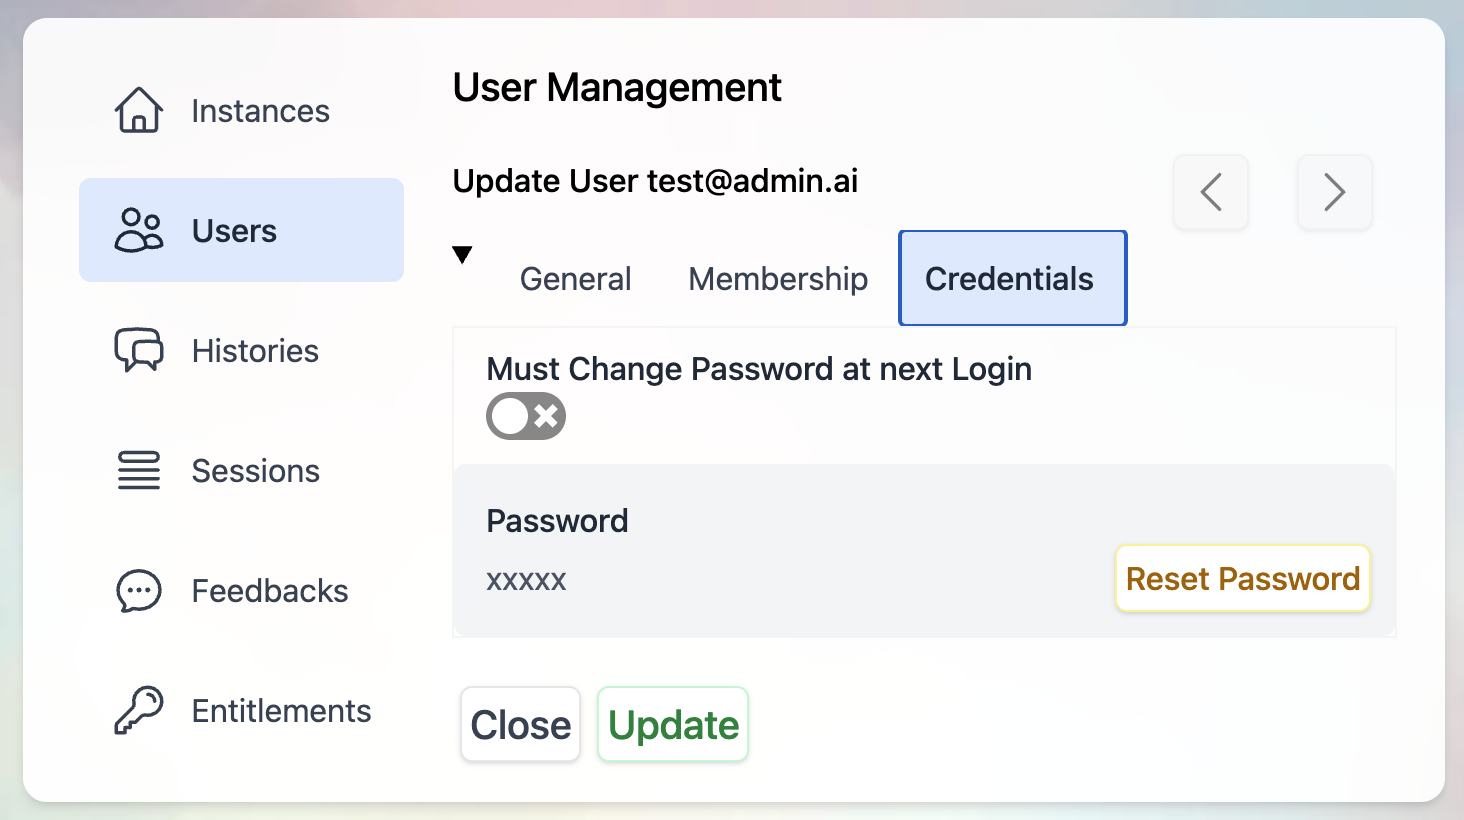
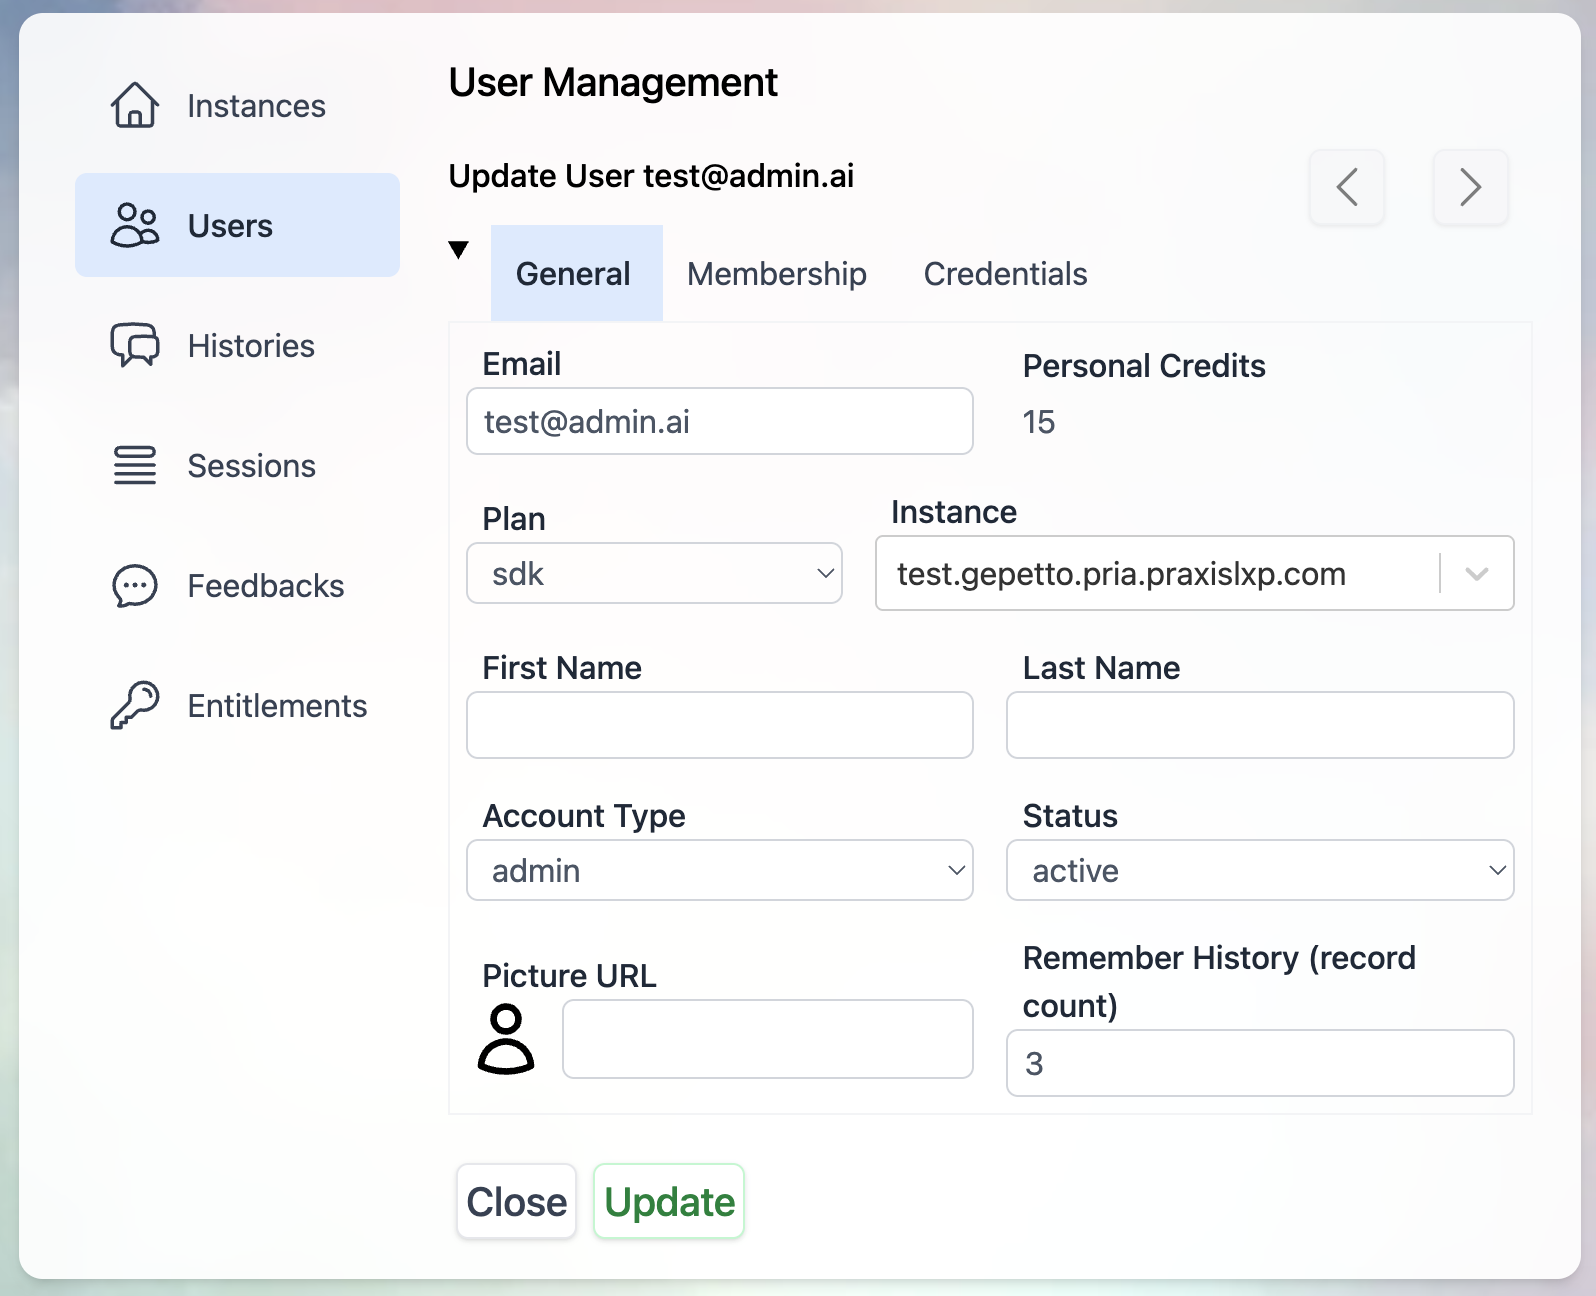
Click on any user to access their comprehensive profile:- General
- Membership
- Credentials
- Full name and email address
- Account type and current status
User Actions
Individual User Management
Edit User
Edit User
Modify user information and permissions:
- Account Type Changes: Upgrade/downgrade between Admin or User
- Email Updates: Change primary email address
- Profile Information: Update name, preferences, and settings
- Status Management: Activate, deactivate, or suspend accounts
Delete User
Delete User
Remove users from the instance:
- Soft Delete: Deactivate while preserving data
- Hard Delete: Permanently remove user and associated data
- Data Export: Download user data before deletion
- Confirmation Process: Multi-step verification for safety
View Sessions
View Sessions
- Last login and status
Adding New Users
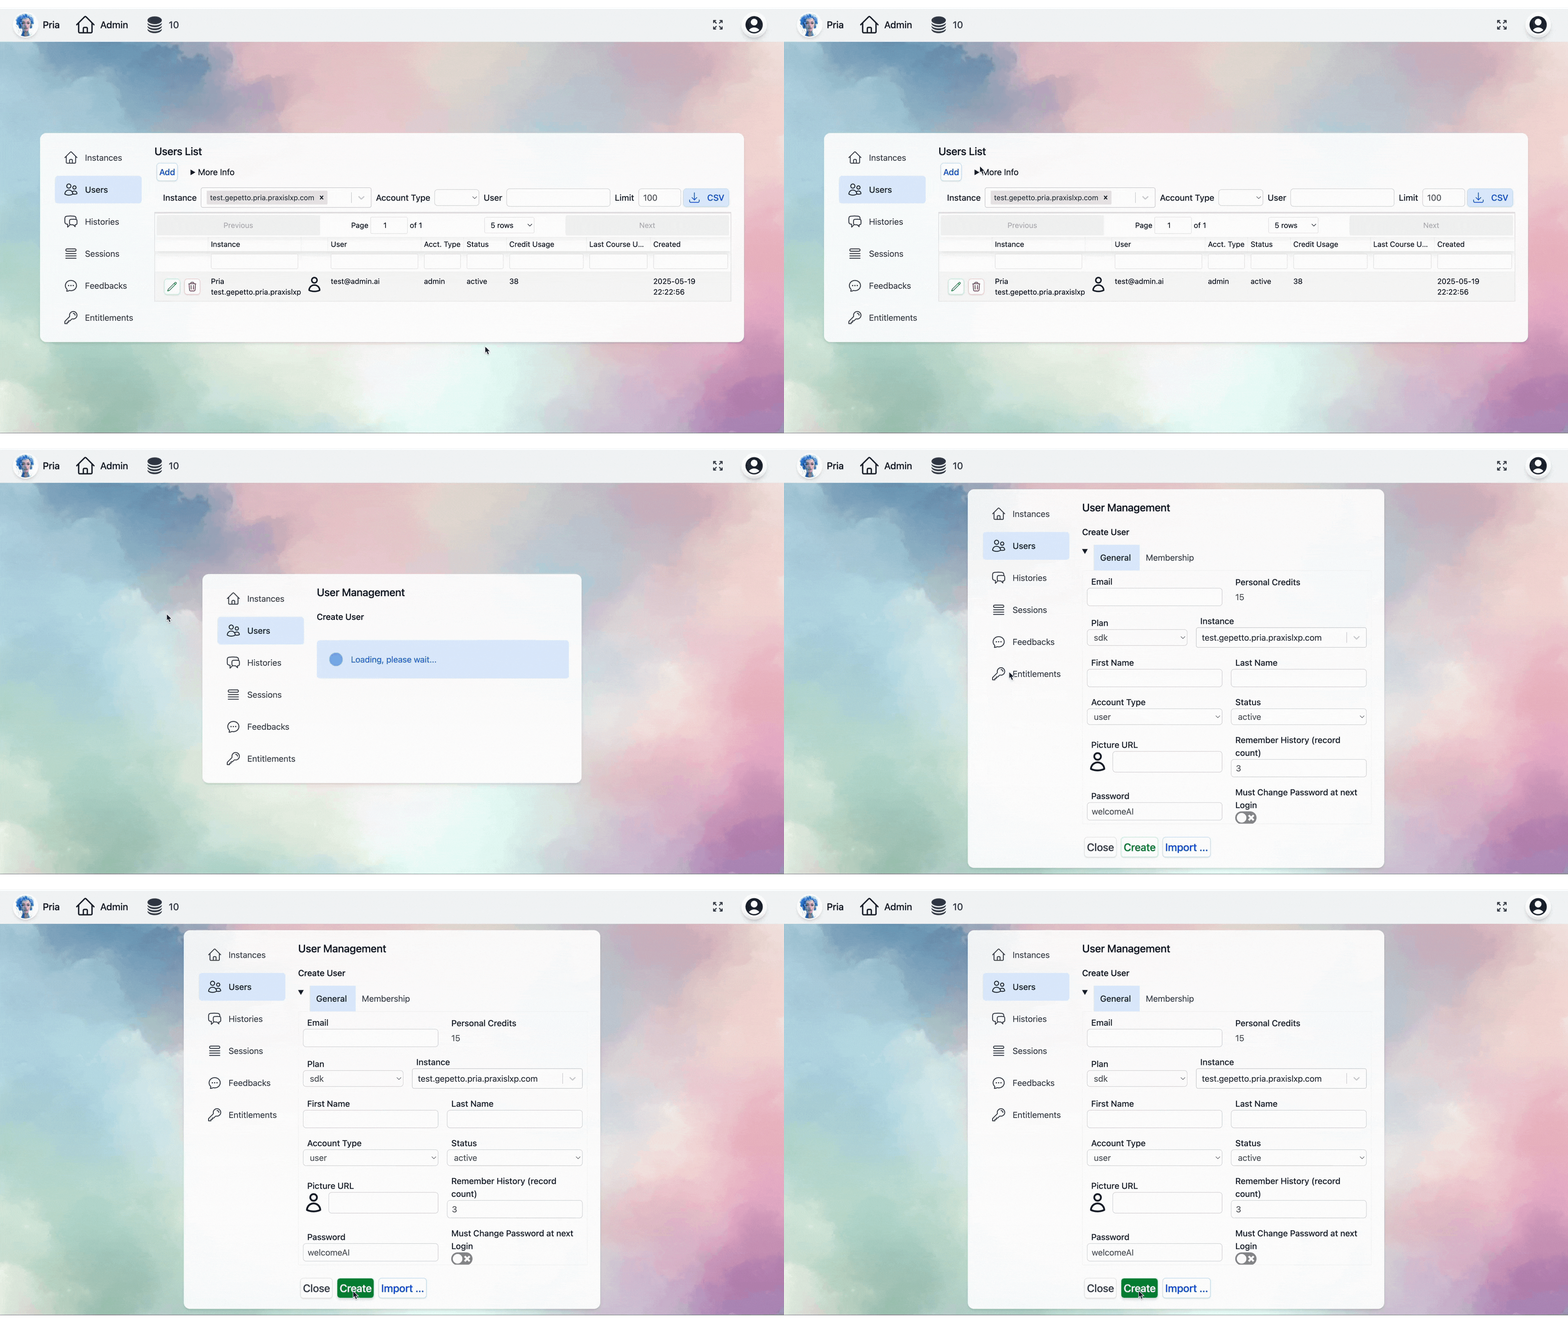
Individual User Addition
1
Access User Management
Navigate to the Users section in your admin dashboard
2
Click Add User
Select the “Add User” button to open the registration form
3
Enter User Information
Provide required details:
- Full Name: User’s complete name
- Email Address: Valid email for login and notifications
- Account Type: Select appropriate permission level
- Instance: Select the name of the digital twin
- Initial Password: Set temporary password (optional)
4
Create
You must click “Create” to complete the process and register the user
5
Send Invitation
You can now contact the user and let them know their account has been set up and what their password is
Bulk User Import
For adding multiple users simultaneously:CSV File Format
Import Process
1
Prepare CSV File
Create a properly formatted CSV with required columns:
- Name: Full user name
- Email: Valid email address
2
Upload File
- Click “Import” in the Users section
- Select your CSV file
- Review the preview of users to be imported
3
Configure Import Settings
- Account Type: Select either
useroradminbased on the required permission level - Account Status
- Choose
activeto enable immediate access - Choose
inactiveto create the account but prevent login until activated
- Choose
- Instance Assignment: Select the digital twin instance that this account will be associated with
- Default Password: Set the initial password for the new account
- Force Password Change: Enable this option to require the user to create a new password on their first login
4
Execute Import
- Review summary of users to be added
- Confirm import operation
5
Verify Results
- Check the users list to see newly imported users
Account Types & Permissions
Permission Levels
- Admin
- User
Full Platform Access
- Complete user management capabilities
- Instance configuration and settings
- Analytics and reporting access
- Digital twin customization rights
- Billing and subscription management
- Integration and API access


